
OUR PROCESS
Our 7 step guide to a residential roof replacement

Delivery of materials
Our supplier will deliver the roofing materials directly onto the roof using a crane or ‘boom’ truck.
We will always be there to make sure the materials are loaded onto the roof safely and securely.
We usually arrange the delivery of materials a few days before we begin work to ensure we have everything in place to start installing your new roof.
There is no need to be concerned about the weight of the load on your roof, we always make sure to distribute the load evenly over the strongest parts of your roof (the ridges and peaks).
The materials will all be packaged to protect it from the elements and loose items weighed down to protect them from strong winds.

2. Preparing the jobsite
The first thing we do when arriving at a client’s home is install protective tarps and plywood sheets to protect the home from any debris that may fall during the roofing process.
Our employees will do everything in their power to prevent falling debris, however, a nail or some shingle wrappers may escape us, especially in high winds, which is why we ensure that protective coverings are in place prior to starting the job.
We will take the utmost care in preventing damage to any plants and/or exterior decorative items. We also cover all decking and interlock with tarps to prevent any damage/marking.
We will use Eavestrough protectors to lean the ladders against, where possible, and we will cover any AC units with plywood and tarps.


3. Removal of existing roof system and preparation of roof deck
We will carefully remove the old roofing system and dispose of the waste in a dump trailer/dumpster.
The roof deck will be cleaned of debris and all protruding nails will be removed at this stage. The eavestrough will also be cleared of debris.
The roof deck will be thoroughly inspected for weak spots, mold, damp or rotten areas and repaired or replaced accordingly.
At this stage, either existing vent holes will be filled in with matching lumber and new holes cut, or existing holes will be enlarged to meet the new venting specifications.
Don’t be concerned if bad weather is forecast, we are always checking the latest weather reports and will limit the amount of the roof deck we expose accordingly, if heavy rains are forecast we may delay removing your old roof until the bad weather has cleared.
4. Installation of Ice and Water Shield, synthetic membranes, and drip edge flashings
At this stage, metal drip edge flashing will be installed along the eaves (bottom edges) and up the rake (sides) of the roof to help support the shingle edge, and prevent water from wicking back up into the roofing system.
Ice and water shield will be installed at the eaves (6ft minimum) and in the valleys (3ft minimum), to prevent ice build-up causing water to penetrate the roofing system.
Walls and chimneys will also be protected with premium ice and water shield, such as Owens Corning’s Weatherlock Flex®.
The rest of the roof deck will be covered with a high-performance breathable synthetic underlayment, such as Owens Corning’s Deck Defense®.


5. Installation of shingles
We will install all shingles to the manufacturer’s specifications. All of our installers are extremely experienced and trained to follow strict guidelines laid out by the manufacturer. This is essential for the roof to qualify for any warranty claims.
We prefer to install Owens Corning or CertainTeed shingles, as our experience has shown them to be the best both in terms of longevity and wind resistance.
During the installation process, we take care not to damage the freshly installed roof, and will pause installation if temperatures get too hot or cold (>30° and <5°C) to meet the recommended manufacturer installation temperatures.
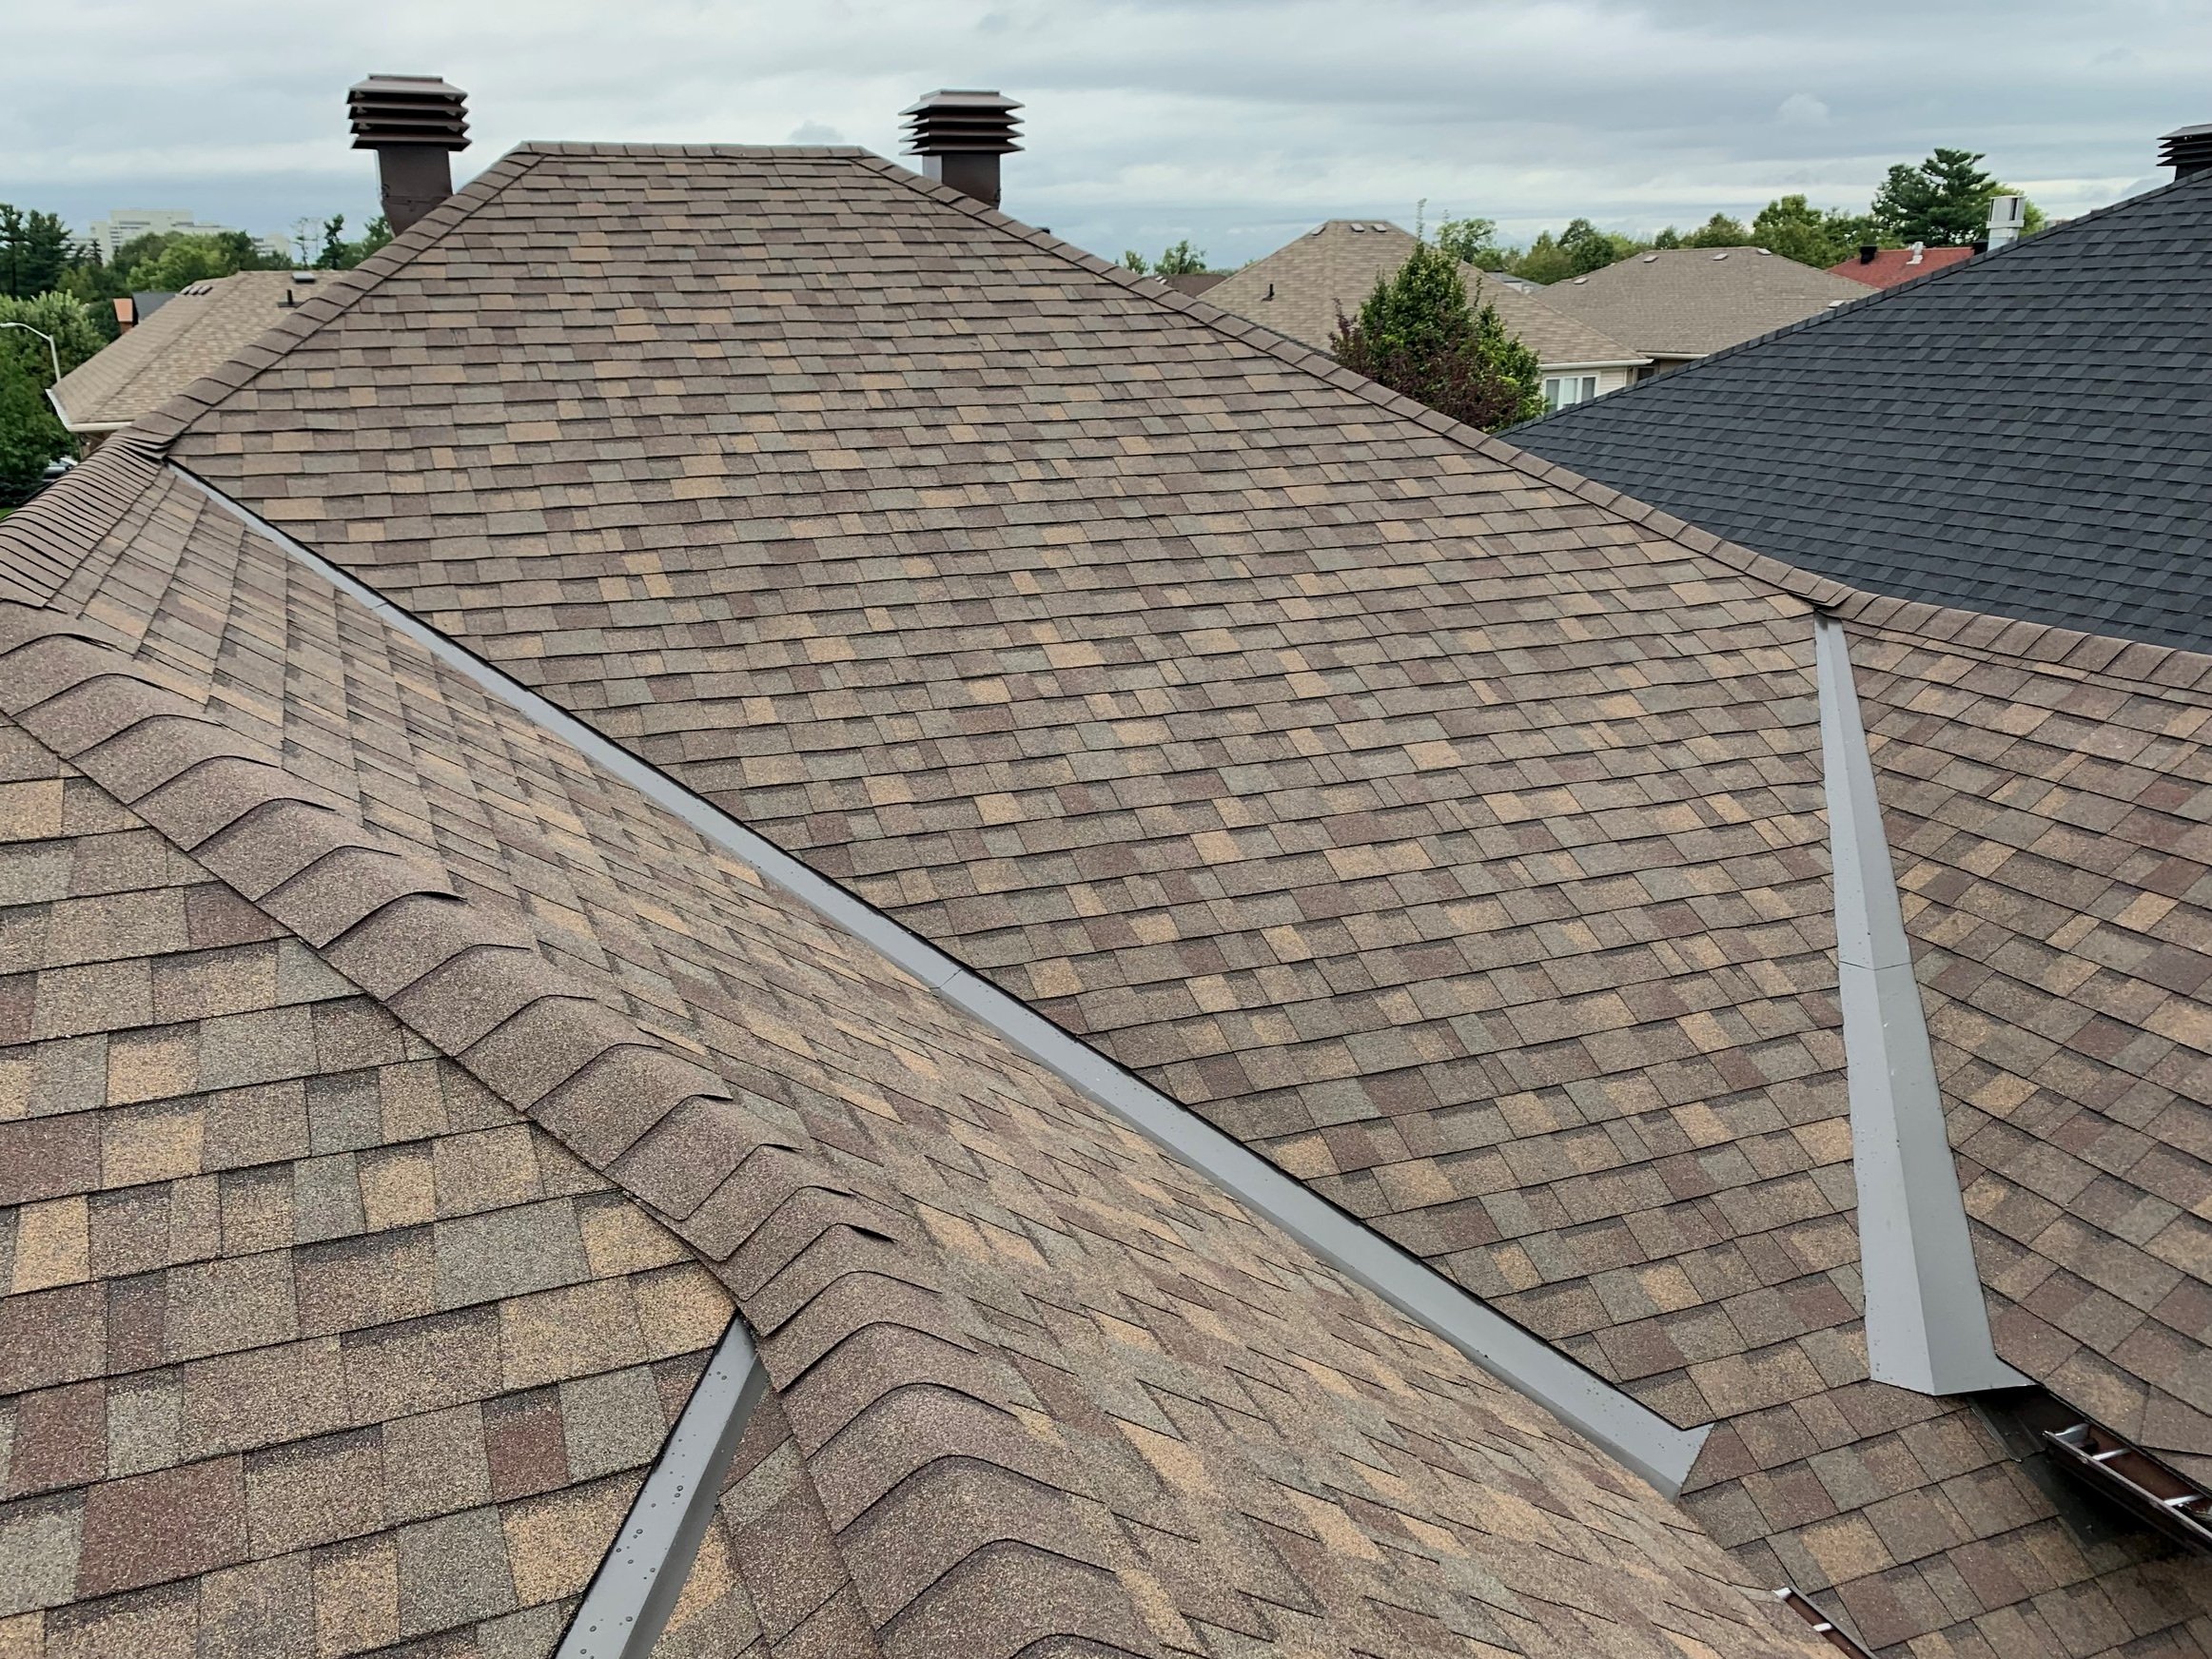
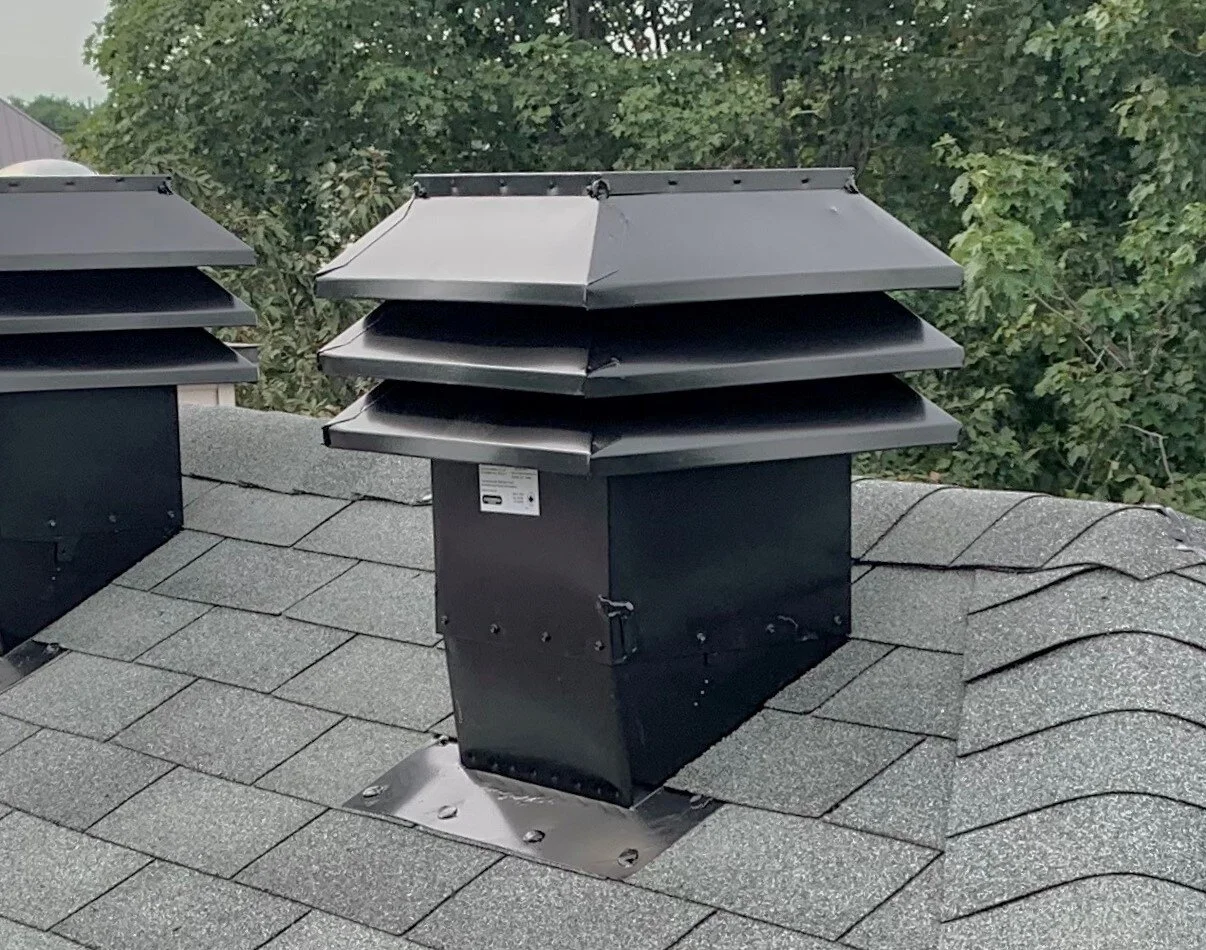
6. Installing Vents and Custom Sheet Metal.
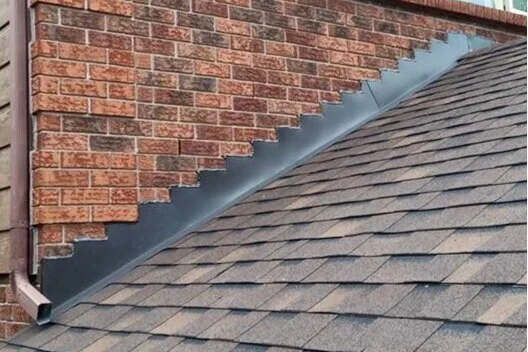
After the shingles have been installed we will install and level the top part of the new vents (we prefer the Maximum brand), we will also install any steel flashings at walls or chimneys.
Our custom flashings are custom made at Burkes Sheet Metal based in Nepean.
We use premium caulking to seal any exposed seams or screw heads to ensure your roof is 100% secure against the elements.
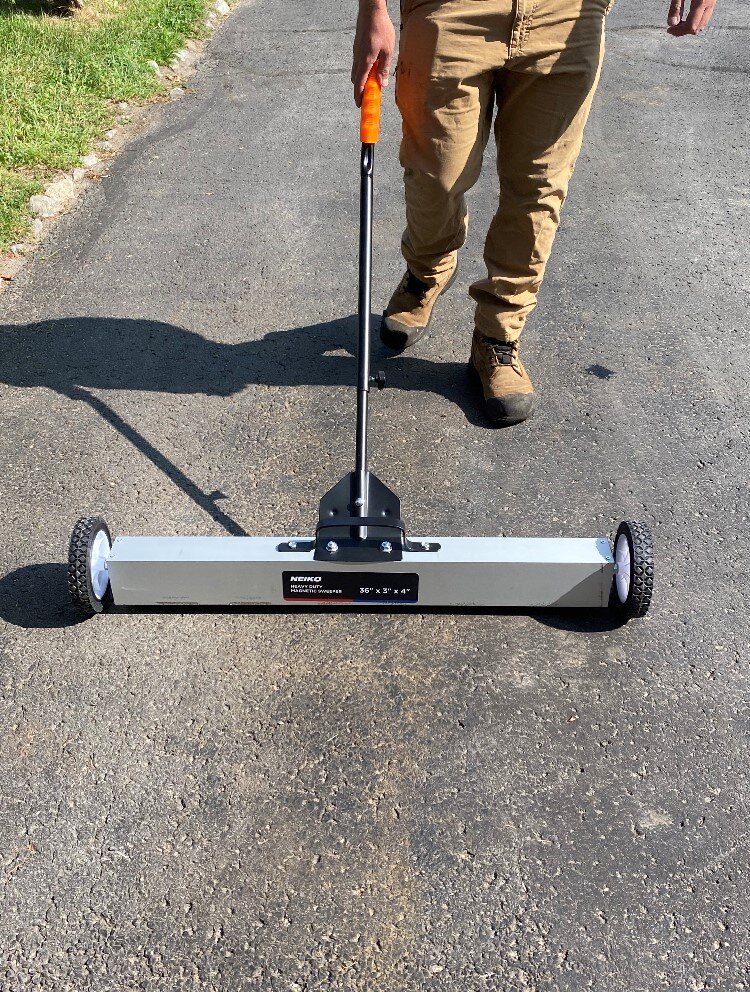
7. The Clean-up
Once the new roofing system is installed we will conduct a thorough clean-up of the job site, carefully removing any protective tarps or sheeting and sweeping all decks and patios.
We will run a magnetic sweeper over any lawn areas and driveways to pick up any nails and use a leaf blower to clean off any remaining grit or sawdust.
We take pride in leaving your home looking clean and tidy, leaving you free to enjoy your beautiful new roof!